Saturday, November 19, 2011

JARL SKULD Devil of the Thornwood is FINISHED!


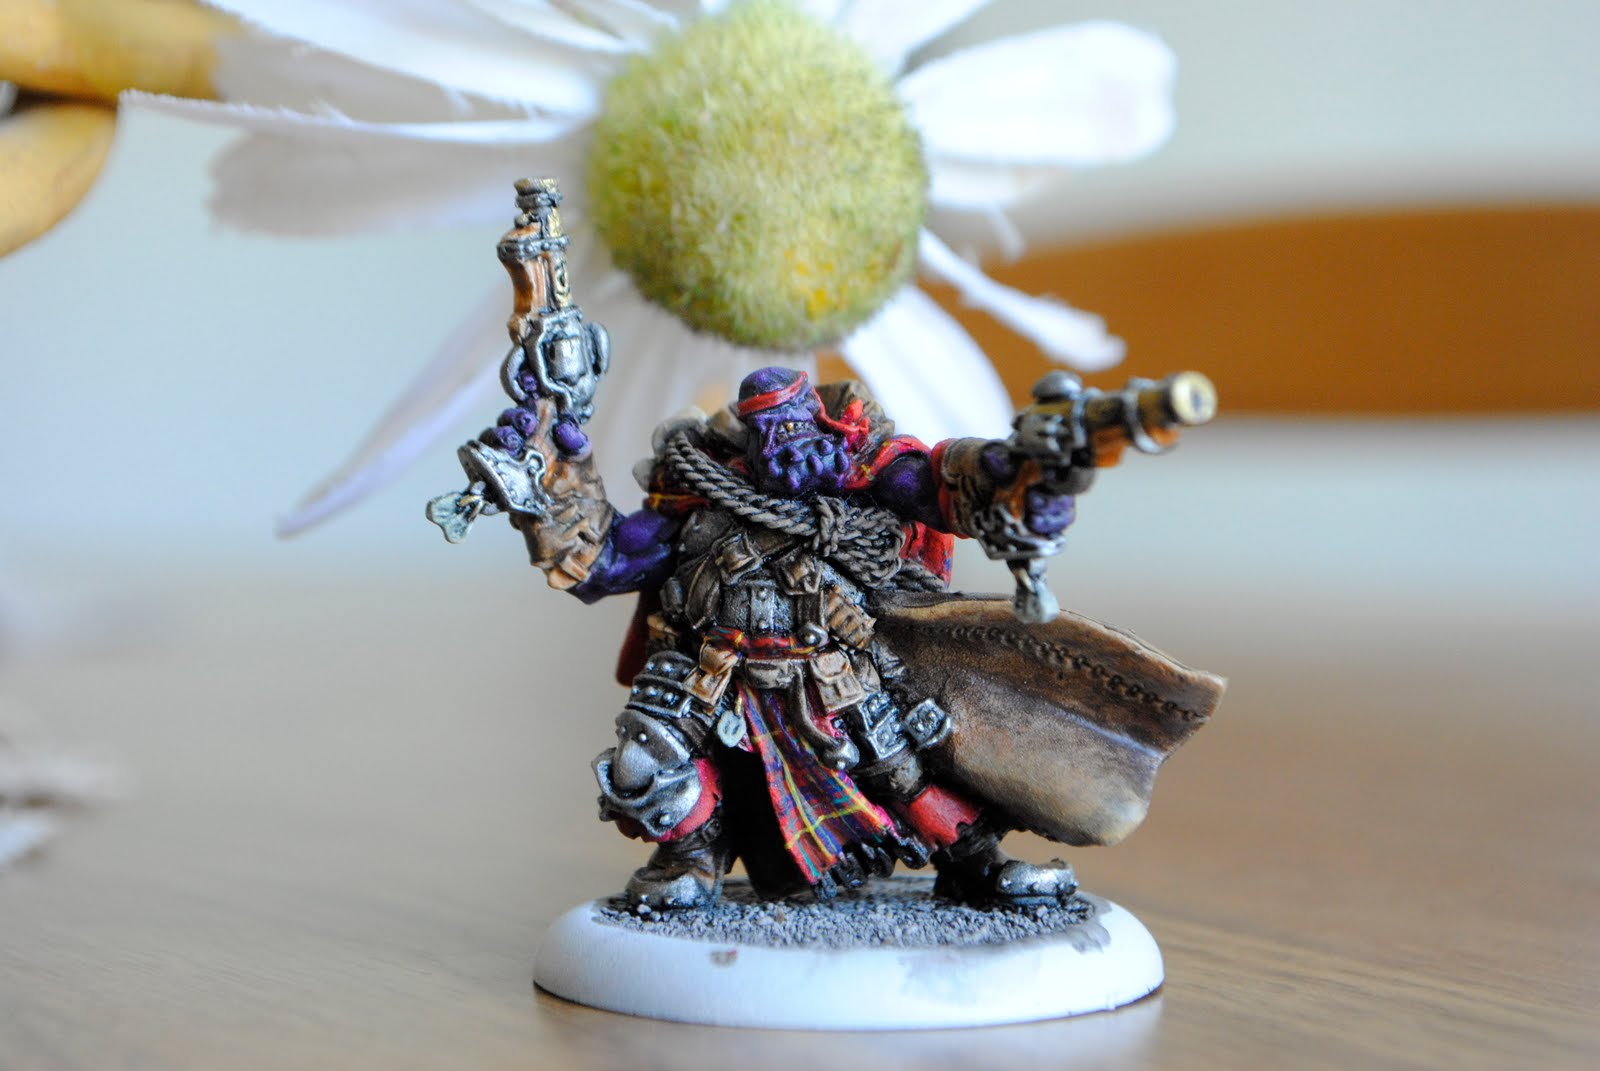
I am SO happy to announce that Jarl is finished!


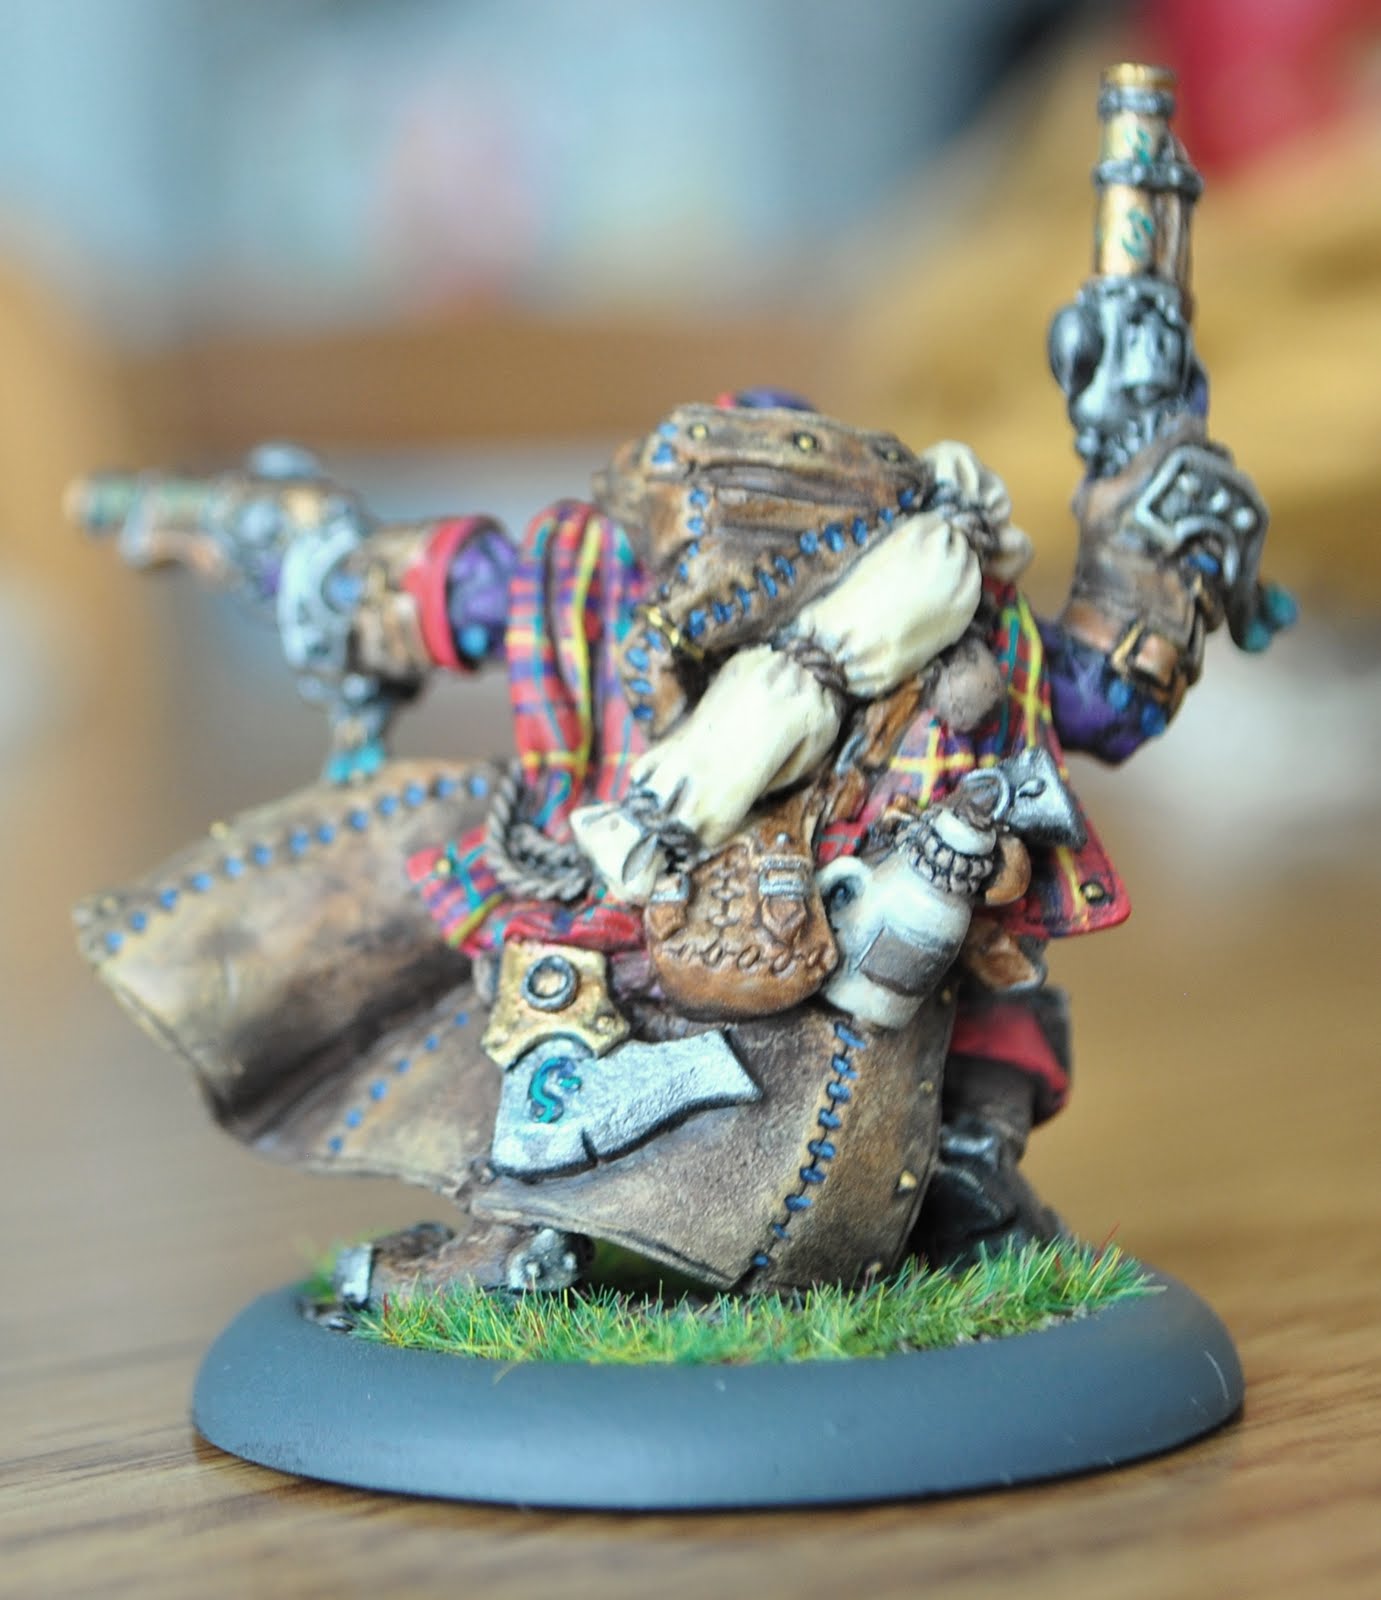
He would have been done over a week ago, had I not dropped him. He slipped from my finger tips only about five inches above the counter which was enough to send him skittering away and into the sink. I immediately saw the left arm pop off and stood frozen, afraid to fetch him out for the thought of what I might find. After a while I mustered the courage to extract and inspect him. It could have been a lot worse. Yes his arm was gone, but there were only 4 small spots where the paint had chipped. As you can see in the photo the paint at the arm joint was severely damaged. I thought I could press it down back into place, but it was too brittle and just cracked off. It was impossible for me to fix the chips completely (three of them were on the leather which you know took a lot of layered washing) If you look closely you can still see those 3 spots where the paint chipped off. I figured no one would be examining him that closely, so I overlooked the imperfections. But if you're interested the most noticeable spot is on the back, right in the middle of his hood, you can easily see it in the picture. Well this is probably the only step-by-step I'll ever do. It was a pain documenting the steps and uploading pictures with my lovely dial-up internet, but I hope it was enlightening.

Wednesday, November 2, 2011

Details, details, details.


Details


Details


Details

Thursday, October 20, 2011

Lovin' Leather


Leather has got to be my favorite thing to paint. It is quick and easy to make it look fabulous. To see what the leather looked like previous to the first step here, just look at any of the previous "Jarl" posts. First I mixed some mixing medium and water with bloodtracker brown. I applied this on all areas except in the deeper crevices, blending it in a bit as I went along. I should note that I used some straight paint to get the richer color and then used the mixture to blend it.

Next I used umberal umber to blend the darker areas. this is the same color that I used to do the original wash.

And then I dry brush blended on some Rucksack Tan. What is drybrush blending? It is a term I made up. Basically you use a flat tipped brush and load it with paint. Wipe some of it off, so it has quite a bit more paint on it than if you were drybrushing. Have a fat, wet brush nearby to blend.

I got some of the lighter paints in the stitching area. So I used a tiny bit of umbral umber mixed with the mixing medium to do a little wash in there. Using my finger I quickly wiped off the excess while the wash was still wet, this removed the dark wash from the raised areas, while leaving it in the cracks.

Finally I used a very very dry and light dry brush in Jack Bone to pick out highlights.


Walla! Nice leather look in less than an hour. I had time to work on some more of the details.

*Note* I did all of the dark colored leather as I went along including the gloves and straps.

One hour per week is close to one per day right?

So I haven't reached my goal of painting for one hour each day, but at least I painted for one hour last week. I just worked on some details such as the ropes, the jug, boots and most likely some other things that I can't remember right now.


Saturday, October 8, 2011

Jarl goes PLAID

I didn’t do any painting on Thursday, but I painted for more than 2 hours yesterday. I am not going to post every step in detail because it takes way too long to upload all of the pictures and it interferes with my work to stop and take pictures every few minutes. Here is Jarl before I started painting


It was easy to complete the armor. First I applied a coat of “Pig Iron” Next I did a wash with pure “Armor Wash”( I want the armor to be shiny) third I dry brushed some “Quick Silver” and lastly I dry brushed some highlights on with “quick silver” mixed with “Glorious Gold”.

Next came the difficult part. I pictured Jarl with plaid from the beginning. I pulled out my little boy’s red plaid pajama pants for reference. Using my reaper master series 30-0 brush and Vallejo Game Color paints I went to work. I like the Game Color paints for painting fine lines because they are thinner than the P3 paints. We don’t have these paints in stock at Phoenix Games, but they are available for special order. I always end up with paint on my hands when doing detail work, because skin is the best thing you can use to wipe off excess paint.


before after


before after


Not that I am really good at painting small straight lines, but I’ll give you some tips that help. First and foremost keep an eraser near by. The eraser should be a small wet brush with semi-stiff bristles, I use my old worn out dry brushing brush. as soon as you make a mistake rub the wet paint with the eraser brush, you need to be quick since the tiny amount of paint will dry fast. A good quality detail brush is crucial. The other thing that helps, or maybe hurts is having a high resolution camera, or a good magnifying glass. After taking pictures I zoomed in and found that the plaid looked crappy. That’s why I say maybe it hurts. So I spent another half hour touching up the plaid. It still looks far from perfect, but I don’t think anyone will be inspecting it with a magnifying glass.

Wednesday, October 5, 2011

Purple Skin

Today I pulled out Old Jarl to work on him for one hour (my goal is to work on him for at least one hour each day until he’s finished). I began by finishing up the washing, which included the base and just a couple spots I missed. Then I decided to work on his skin. I wanted it to be a dark charcoal-ish purple. I included the paints and brushes in each photo that I used for each step.


Step 1:
First I brushed a coat of purple onto his skin.

I watered it down so the black wash would show through.


Step 2:

Next I mixed grey and purple and applied a light coat,

keeping it out of the deeper cracks.


Step 3:
I added some black and mixing medium to the purple and did a little wash.


Step 4:


Then I added some grey and white and dry brushed it on.


Step 5:
To bring out more detail I did a second drier dry brushing with more white in the mixture.


Well that wasn’t the look I wanted. It was too light and chalky. So I did a wash with the P3 armor wash. I almost always add some water to any of the inks I use, because if I don’t they dry looking really shiny, which I don’t like. At this point I was starting to get sick of stopping and taking pics of each step, but it is a great illustration about how much trial and error happens in my work. I rarely get the figure looking right the first time, but the layers of color give my work a unique look of depth. The best example of this is the Larris figure I painted. Check out his picture in the post “Epic Kaya and Larris” look at him closely, There were at least 20 steps, and at some points it looked awful, but there was no other way to get the end result.


Step 6:

After the armor wash Jarl looks dark indeed.

The purple is present but not so dominant.


Step 7:


So next I did what I’ll call a wet/dry brush. Using a flat tipped brush loaded with just enough paint to go on smoothly, I lightly brush the figure. Sorry this picture is a little fuzzy because it is a dark cloudy day, my camera does not have a super low f stop, I don’t want a ton of grain in the picture produced by a high ISO and I have no tri pod to stabilize the slower shutter speed.


Step 8:
Finally I added some white and grey and did a couple of dry brushings. Sorry I didn’t take pics of each dry brush step I did, but it was basically the same as the dry brushes in steps 4 and 5. This time I used less white and made sure there was not too much paint on the brush.


When the skin was done I did a little detail work on the mouth, adding a golden tooth for fun! Don’t worry, I plan on doing the rocks on his skin a different color, I just haven’t decided what color to paint them yet.